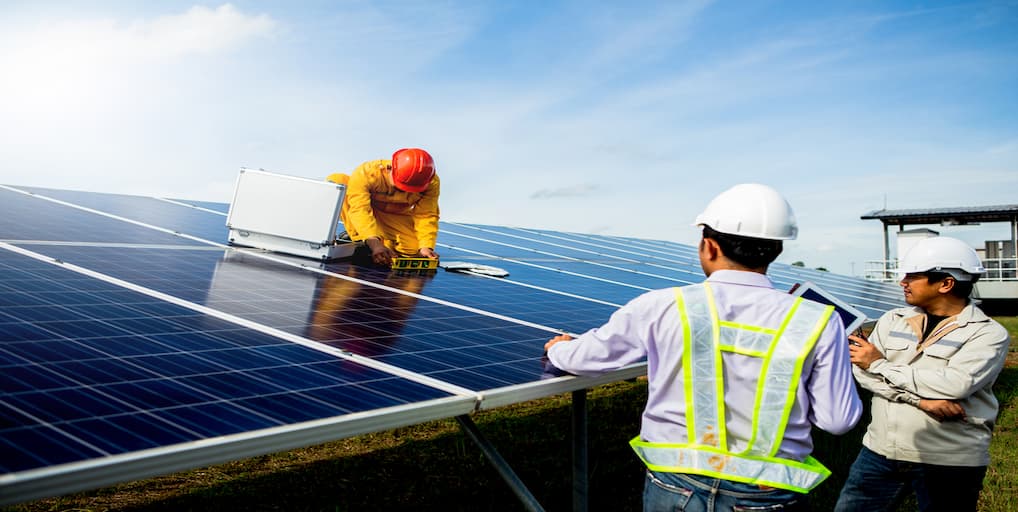
Solar panels are designed to be robust and long-lasting, but they can sustain damage from environmental factors, accidents, or general wear over time. Solar panel pairs involves careful evaluation and, in some cases, the need for professional assistance. Here’s a guide to help you tackle common issues and restore your solar panel to optimal working condition.
Common Solar Panel Problems
Before starting any repairs, it’s important to identify the type of damage:
Cracks or Chips on Glass
- These can be caused by hail, falling debris, or accidents.
Hot Spots
- These indicate uneven energy production, often due to shading or faulty cells.
Wiring Issues
- Look for loose, corroded, or disconnected wires.
Delamination
- This occurs when the layers of the panel separate, typically due to moisture or heat.
Faulty Diodes
- These can hinder proper energy flow within the panel.
Tools and Materials Needed While Solar Panel Repair
- Multimeter (for testing electrical output)
- Silicone sealant
- Soldering iron and solder
- Replacement wires or diodes
- Glass repair kit (for minor cracks)
- Safety gear (gloves, goggles, etc.)
Step-by-Step Repair Process
Step 1: Assess the Damage
- Conduct a visual inspection of the panel for any visible cracks, discoloration, or broken parts.
- Utilize a multimeter to measure the panel’s voltage and current output. Compare these readings with the manufacturer’s specifications to ensure it’s functioning correctly.
Step 2: Clean the Panel
- Wipe away dirt, dust, and debris using a soft cloth and mild soapy water. This will help you see the damage clearly and prevent additional scratches.
Step 3: Repair Cracks
For small cracks:
- Use a glass repair kit to fill in the crack.
- Apply a UV-resistant silicone sealant over the crack to block moisture from entering.
For larger cracks:
- Consider replacing the entire glass panel if it affects the solar panel’s efficiency.
Step 4: Fix Wiring Issues
- Disconnect the panel from the system and examine the wires.
- Replace any damaged wires or re-solder loose connections.
- Inspect terminals for corrosion and clean them with a wire brush if necessary.
Step 5: Address Hot Spots
- Check the panel for any shaded spots or dirt that might be causing uneven heating.
- Clean the surface and make sure there are no objects obstructing sunlight.
- If you find a defective cell, reach out to a professional for replacement.
Step 6: Replace Faulty Diodes
- Find the diode box, which is typically located at the back of the panel.
- Use a multimeter to test the diodes. If any are faulty, unscrew them and solder in new ones.
Step 7: Test the Panel
- Reconnect the panel to the system and use a multimeter to check its electrical output. Make sure the voltage and current align with the expected performance.
When to Call a Professional
Some repairs can be too complicated or risky to handle on your own. Consider getting professional help if:
- The damage affects multiple cells or there is significant delamination.
- The solar panel is still under warranty (DIY repairs might void it).
- Electrical issues continue even after repairs.
Preventive Measures
Regular Maintenance
- Periodically clean the panels and check for any early signs of wear or damage.
Install Protective Measures
- Utilize a protective cover or shield in areas that are susceptible to hail or debris.
Avoid Overloading
- Make sure the system’s inverter and battery are compatible with the output of the panel.
Conclusion
Repairing a solar panel can help prolong its lifespan and restore its efficiency. While minor issues such as cracks or wiring problems can often be addressed with DIY efforts, more significant damage may necessitate professional assistance. Consistent maintenance and proper care will reduce the need for repairs and ensure your solar panels operate efficiently for many year

